Nov 19, 2010

Green beetroot salad

A green beetroot salad?Well, yes, check out this recipe.Quite surprisingly, the fenugreek does not leave any bitter aftertaste, even my kids relished this colourful salad!Considering the amazing benefits of fenugreek, this salad is an all time winner, go ahead,  please do yourself a good turn by trying out this one.I must thank my dear friend who gave me this great recipe.
You need
  1. Beet root, tender, small - 2, grated
  2. Fenugreek leaves, tender - chopped, 1 cup
  3. Onion - 2 medium, chopped fine
  4. Tomatoes - 2 chopped fine
  5. Hung curd - 2 tbsp
  6. Salt - 1/2 tsp or lesser
For seasoning
  1. Vegetable oil - 1/2 tsp
  2. Mustard seeds - 1/2 tsp
  3. Curry leaves - 4-5 leaves
  4. Hing powder - a small pinch
  5. Green chilli - 2, chopped very fine
To assemble
  1. Tie up a cupful of homemade skim milk curd in a muslin cloth for about an hour.Use 2 tbsp of the hung curd in this recipe, reserve the rest for later.
  2. Choose tender fenugreek leaves.Remove thick stalks from fenugreek leaves, wash thoroughly.Chop up - neither too fine nor too big.
  3. Select medium, tender beetroot.Wash well, peel skin away, and grate the beetroot with a fine grater.
  4. Take 2 medium sized onions, peel, wash well, and chop up real fine.
  5. Similarly wash tomatoes and chop fine.
  6. Once chopped,  toss all vegetables together with the salt and hung curd.
  7. Heat oil in a small sauce pan, add mustard .When mustard splutters, add the rest of ingredients for seasoning in order.Pour over the tossed salad and give a good mix.
  8. Allow flavours to settle by keeping it covered in the fridge for atleast half an hour.
  9. Serve with phulkas, or rice.
Notes
  • You can use juice of 1 lemon instead of hung curd for the tartness.
  • You can substitute green chilli with fresh cracked black pepper, add it along with salt.
  • Always select tender fresh vegetables while assembling a salad.
  • Consume a salad within an hour of tossing or even earlier.
  • Keep a salad covered well in the fridge to avoid loss of freshness and to avoid other odours from seeping in.
  • You can omit the beetroot entirely for severe diabetics.Else you can substitute it with fresh carrots.
Now for the nutri notes
  • There are numerous studies which show the benefits of fenugreek on lowering blood glucose levels and lowering blood lipid levels.These have been shown in ancient Ayurvedic medicine too.Space here does not permit detailed analysis of such studies, suffice to say that we do have a wonder vegetable at hand.DO consume either seeds or leaves raw on an empty stomach to benefit fully from the hypoglycemic and hypolipidemic effects of fenugreek.Consuming just 5- 8 gms of seeds per day seem to bring on all the benefits of this wonder plant.
  • The leaves also give us good amounts of Vitamin A,and sizable amounts of  vitamin B and C when consumed fresh and raw.
  • Among trace elements,while it contains only fair amounts of iron, the leaves pack in good amounts of copper (0.10mg/100gm), zinc (0.36mg/100gm) Due to the presence of copper and zinc,quality of iron absorption is good.Those with iron deficiency anemia, please go all out for this fragrant green!
  • It is a low source of sodium (76mg/100gm and potassium (31mg/100gm).Hence it is a welcome food for hypertensive patients.
Here are the visuals
chopped salad veggies


Blended and seasoned salad
Chilled salad with hot phulkas!


Nov 10, 2010

Palak and sweet corn sandwiches

Mummy, please make Cafe Coffee Day sandwiches for us! This was the refrain from my kids for the past few months!This was the result of the trial.While the outcome was not exactly like the famous cafe chain,(that version had a more pronounced garlicky flavour),try this version and give me your comments.

You need
  1. Palak leaves-chopped, 4 cups (frozen palak can also be used)
  2. American sweet corn-2 cups
  3. Salt-1/2 tsp or to taste
  4. White pepper powder-1 tsp to 1 1/2 tsp
  5. Crushed garlic-1 tsp (optional)
  6. Bread-1 loaf (can be any variety, whole wheat is good)
  7. Melted butter- 2 tbsp, for brushing

For white sauce
  1. Skim milk-200ml
  2. Whole wheat flour-1/4 cup (50gms)
  3. Unsalted butter-15 gms
  4. Cheddar cheese-100 gms cube (can add more if you wish)
To assemble
  1. Remove thick stalks from palak leaves, wash well, and chop roughly.Measure 4 cups after chopping.
  2. Cook in its own juices in an open pot over stove top for 8-10 minutes or cook in a  micowave for 4 minutes  (800W).If using frozen palak, thaw and then cook.
  3. Rinse if using frozen corn, boil in microwave until just tender (4-5 mins).
  4. For the white sauce, melt butter in a thick bottomed pan, add crushed garlic, if using, and then add whole wheat flour, fry stirring rapidly to avoid burning.
  5. After the raw smell of flour subsides, switch off stove, add the milk, stir briskly to remove lumps (you could use a whisk too).
  6. Return to fire and simmer.
  7. Grate the cheese you are using and add to the simmering sauce, mix well and allow to melt well into the sauce.
  8. The sauce is done when it coats the back of ladle, add salt and white pepper powder now, and stir.
  9. Add the cooked palak and corn, mix well.
  10. Simmer for a minute or two until the filling turns into a moist homogenous mass.
  11. To make the sandwiches, brush one side of each slice of bread very lightly with melted butter.
  12. Place one slice buttered side down on a sandwich maker, spoon some prepared filling onto the slice evenly.
  13. Cover with another bread slice, buttered side up and close the sandwich maker.
  14. Sandwich should be ready in a minute or so.
  15. Switch off the sandwich maker and remove gently, rest for a minute and then serve.
  16. Repeat until your bread and filling is used up.
Notes
  • You could add boiled peas instead of corn or in addition to corn.
  • You could add more of cheddar cheese or add half measure each of cheddar and mozzarella cheese.
  • Add more garlic as per taste.
Now for the nutri notes
  • Spinach is only a moderate source of iron.However what makes it a great green is that it comes packed with 51 micro gms of folic acid per 100gm spinach, as well as comes loaded with beta carotene (5580 micro gms)  and vitamin C (28mg/100gm).It thus packs a super healthy punch. Given this ideal combination-of folate and vitamin C necessary  for optimum iron absorption in the body,it is a must have veggie on a weekly basis.
  • Corn is a low fat, fibre laden, cereal.It is not a signifiacnt source of calcium or iron.However it's low sodium (40mg/100gm) and fair potassium content (151mg/100gm) makes it a good bet for hypertensive patients.
  • Cheese loads the dish with calcium and of course plenty of sodium and saturated fats too.Reason enough to use sparingly.While this recipe is a treat for kids, adults can tweak the recipe to add fresh homemade paneer made from skim milk-this obviously ensures calcium without the sin!
  • Milk alongwith cheese ensures that your kids' daily dairy protein needs are met in a fun way!
  • Using whole wheat bread for the sandwiches gives you carbs of a low glycemic index.
  • A dish that has it all- good carbs, dairy protein, bursting -with -good -health -veggies,plenty of fibre and super yummy to boot,Wow.

Here are the visuals

cooking palak
Add flour to butter for white sauce
Add milk and cheese

Add cooked palak and corn to the white sauce
Sandwiches with filling ready!

Oct 26, 2010

Vegetable sandwiches

This was the lazy weekend,and I was too engrossed in aromatic elaichi tea with the morning newspaper,to think of any gourmet breakfast.It was then that I remembered the pudina chutney I  had made the previous day.I lost no time in chopping up the veggies at hand,and went on to make this A GRADE (the young ones gave me this grade!) scrumptious breakfast for my kids.So quick and tasty,especially if you have the spread made ahead,my heart filled with happiness at having been able to whip up a hearty wholesome breakfast for my family.
You need 
  1. Sandwich bread / whole wheat bread-1 loaf
  2. Pudina chutney-1 recipe (from previous post)
  3. Tomatoes-3-4 medium, thinly sliced
  4. Capsicum-2 medium, thinly sliced
  5. Zuchini, yellow-1 long, thinly sliced
  6. Onion-2 medium, cut into thin rounds (optional)
  7. Butter-2 tbsp, melted
To assemble
  1. Clean all vegetables that you wish to use, peel and slice into thin rounds.
  2. Brush 1 side of each bread slice very lightly with melted butter.
  3. Heat a sandwich toaster, place a buttered slice down on the toaster.
  4. Use a spoon or spatula to spread some pudina chutney onto the slice.
  5. Place 2-3 tomato slices on the bread slice, then place some zuchini slices over it, followed by a slice each of onion and capsicum.
  6. Top the sandwich with a buttered bread slice faced up.
  7. Close the sandwich toaster, step back and wait for the heavenly aroma of toasted bread.
  8. Depending on model of toaster, your sandwich should be ready in 60-80 seconds.
  9. Take care not to burn the underside of the sandwich, switch off and remove carefully with a spatula.
  10. Repeat making sandwiches using up your bread and veggies and the yummy chutney spread.
  11. Cut the sandwiches into triangles with a sharp knife, sit back and       ATTACK!!!!
Variations
  1. You could use any vegetable combination- sliced carrot, blanched beetroot, raw cucumber, tender radish- all work well inside sandwiches.
Notes
  • A sandwich filled with vegetables like this is a super healthy, filling, no mess, school lunch.
  • You could add half a slice of cheese to each sandwich to increase satiety for a school lunch box.
  • I used a Philips electric sandwich toaster to make these sandwiches.
Now for the nutri notes
  • Using whole wheat bread increases fibre content of the meal, especially useful for diabetics, since it is a low glycemic index food.
  • Health benefits of pudina has already been mentioned in previous post.
  • Making a vegetable sandwich like this, at home,  lets you use several types of vegetables in the same sandwich (you are not victim of limited veggie fillings commonly doled out at several restaurants).
  • Using raw vegetables like capsicum, tomato provides for the daily average requirement of Vitamin C (Please note that cooking time of 60 -80 seconds inside the toaster is quite minimal and ensures easy digestion, while retaining the vitamin content of the vegetable to almost 80%)
  • Onion is a sulphur containing vegetable, while tomatoes have lycopene, a  plant pigment. Such vegetables have anti carcinogenic property, that is, they help prevent cancer in the body!
  • The homemade sandwich spread eliminates the need of  using store bought ketchups and spreads (which may contain several food additives and preservatives).
Here are the visuals


sliced vegetables
bread slice topped and ready to toast!
yummy sandwiches


Oct 12, 2010

Pudina chutney

I was looking for a zesty pick me up to brighten up a usual rice-dal routine.As I rummaged though the fridge,this bright dark green bunch of pudina invited me with it's lovely aroma-this was exactly what could fit my need!I could not wait to convert it into this chutney below; once you have separated leaves from stalks, go ahead and make this quick, delicious pick me up!

You need
  1. Pudina leaves-1 1/2 cups packed
  2. Green chillies-3-4 big
  3. Root ginger-2 tsp chopped
  4. Garlic-7-8 cloves,peeled
  5. Fresh coconut-grated-1/4cup or chopped-1/2 cup
  6. Juice of 1 lemon (can add more if you feel the need for a super tangy taste)
  7. Salt-1/4 tsp
  8. Vegetable oil-1/4 tsp
To assemble
  1. Remove stalks,clean and wash pudina leaves under several changes of water,drain and keep aside.
  2. Take a flat bottomed pan,heat oil in it.
  3. Add chopped green chillies, ginger, garlic to the pan, swirl the pan and let sizzle.
  4. After a minute you can add the washed pudina leaves, toss in the oil for a quick coating.Do not fry for more than a minute-you will lose the flavor and colour if you do.
  5. Take a fresh coconut halved, and grate or chop out the white flesh (use quantity, as given in ingredient list)
  6. After the fried ingredients have cooled, place these and the coconut in a mixer grinder, add the salt and grind to a smooth paste.Use the lemon juice instead of water,midway through the grinding.You can add another tsp or two of water after adding the juice,(if required).
  7. Your tangy bursting-with -good-health-pudina- chutney is ready!
Notes
  • This chutney can be stored in the fridge for a couple of days,and upto 10 days in a freezer box in the freezer;thaw only as much as you would use up each time.
  • The chutney works great to perk up a meal,as a sandwich spread,or a tangy spread for rotis-fill up with salad veggies,roll and eat!
  • You can use fresh raw mango in season instead of lemon juice-it adds body to the chutney too.
  • Can avoid ginger and garlic and use only green chillies for a slight change in flavour.
  • Can make the same chutney using fresh coriander (cilantro) leaves too,use 1 1/2 cup of chopped leaves to substitute for every cup of pudina leaves.
  • Take care-Do not  fry the leaves for more than a minute.
Now for the nutri notes
  • Ginger, garlic and pudina are known to be excellent digestive aids, they relieve gas, distension, and improve digestion.
  • At a good 15mg of iron per100g of pudina leaves, mint packs in good punch!
  • Combining lemon juice or raw mango in the chutney makes Vitamin C readily available.Vitamin C improves iron absorption in the body.
  • Pudina also adds to the fibre content of the meal.
  • With virtually no sodium, it is a good choice for both hypertensive (blood pressure) and some renal patients, who need to control sodium intake.Of course, adding salt to the dish increases the sodium content.You can use low sodium salt insted of regular table salt in case of sodium restriction.
Here follows the visuals


    frying ingredients
    toss pudina leaves in oil

     fresh coconut
    pudina chutney 

    Oct 11, 2010

    Palak dal

    What could be healthy, filling, have a protein and veggies combined in a single dish and get cooked in less than half an hour? Well, this greens dal fits the bill just right! Of course, pressure cooking the rice along with the dal saved me cooking time and I had this soul food ready in under 40 minutes-quite a treat for hungry kids when served with homemade ghee! 


    You need
    1. Tur dal (red gram dal) -150ml
    2. Paruppu keerai (called kari cheera,pappu koora) /palak - chopped, 3 cups
    3. Onions-2 medium, finely chopped
    4. Tomatoes-2 medium, diced
    5. Green chillies-3 big, finely chopped
    6. Fresh root ginger-1 tsp chopped
    7. Curry leaves-1 tbsp, finely chopped
    8. Turmeric powder-3/4 tsp
    9. Salt-1 tsp (adjust to taste)
    For seasoning
    1. Vegetable oil-2 tsp
    2. Mustard seeds-1 tsp
    3. Jeera (cumin seeds)-1 tsp
    4. Saunf (aniseed)-1 tsp(optional)
    To assemble
    1. Wash the dal well.
    2. Add double the volume of water and pressure cook to a soft consistency.
    3. Wash the greens you are using well under several changes of water.
    4. Chop up medium fine.
    5. Place the chopped greens in a microwavable bowl, add some water and cook on high for 4-5 minutes.
    6. Heat oil in a deep pan.
    7. Add ingredients for seasonings in order.
    8. When they splutter, add green chillies, ginger ,curry leaves.
    9. Next to go in is the onions, followed by diced tomatoes.
    10. Toss in the turmeric and salt.
    11. Mix it well and let the veggies mush up a bit.
    12. Add the cooked greens, give a good mix, add about 100 ml of water, simmer for 2 minutes.
    13. Now is time to add cooked dal, mash with the back of ladle, simmer for 3-4 minutes, add more water if needed to avoid burning.
    14. Your lovely nutrient-packed greens dal is now ready!
    15. Serve with steamed rice, pudina chutney and carrot sticks.
    Here follows the nutri notes-
    • Combining a cereal and a pulse in a meal is the best way to get all amino acids.
    • The greens dal combines in itself the protein and vegetables needed in a meal.
    • The mint chutney packs-
    More of green leafy vegetable allowance.
    Adds zing,spice and hence improves satiety of a meal.
    Adding lime juice to the chutney provides vitamin C needed for better iron absorption(from the greens and pudina) in the body.
    • Serving with carrot sticks adds to the beta carotene in the meal(greens have them too).
    • Carrots also amp up the fibre quotient.
    • Preportioning the meal (as in the pic) allows you to eat sufficiently.
    • This helps weight watchers to prevent from reaching out mindlessly for extra servings.

    Here are the visuals-
    
    
    diced tomatoes


    chopped ingredients


    chopped greens
    cooked dal

    microwaved greens

    bubbling greens dal


    Sep 19, 2010

    Stuffed brinjals-my style

    
    Stuffed brinjal-my style

    You will need-
    1. peanuts-200ml
    2. dhaniya-150ml
    3. chana dal-100ml
    4. urad dal-75ml
    5. white til-100ml
    6. jeera-1 heaped tsp
    7. mustard seeds-1/2tsp
    8. red chillies-15-20
    9. tamarind-size of orange
    10. jaggery- approx half the amount of tamarind
    11. onions- finely chopped 2cups
    12. salt-as per taste(approx 2tsp)
    13. violet brinjals-1kg
    14. vegetable oil-2tbsp
    15. mustard seeds-1/2 tsp
    16. urad dal-1 tsp
    To assemble the stuffing-
    1. Soak tamarind in a cup of warm water.squeeze out juice, set aside.
    2. Roast items for masala powder(from 1 -8),separately,in a drop of oil each.Roast the red chillies last.when cooled powder them together.
    3. Saute the chopped onions lightly.
    4. In a large bowl,combine the masala powder,sauted onions,jaggery,tamarind juice,salt.Blend well with hand/ladle to get uniform mixture.
    5. Wash whole brinjals wipe clean.You may slice off the stems.
    6. Cut them into quarters or sixes keeping the base of the brinjal intact.
    7. Use a spoon to fill in the stuffing mixture well into the cut brinjal.(I enjoy getting dirty with my hands at this stage!!).Reserve any left over stuffing.
    To assemble the stuffed brinjal-
    1. Heat a large heavy bottomed pan/pressure cooker.
    2. Add all the oil,temper with mustard seeds,urad dal.
    3. Gently place the brinjals stuffed side up into the pan.Tip in the remaining stuffing with 1 cup water(add more water if using a pan).
    4. Cover lid of pan/cooker.Cook till 1 whistle if using cooker.Check for doneness in a pan,after 7-8 minutes,add more water if needed,cook till done.
    5. Your gooey,heavenly smelling stuffed brinjal is now ready.
    6. Serve warm with hot steamed rice and tadka dal.
    Notes-
    • Pressure cooker works best for me.
    • Roast each ingredient for powder patiently until just golden brown.
    • Omit jaggery if you dont fancy a hot-sweet flavour.
    • Cut brinjals carefully after getting the stuffing ready,they get discolourd if left cut for too long.
    • Optional-Add chopped coriander to stuffing or after cooking,as a garnish.

       
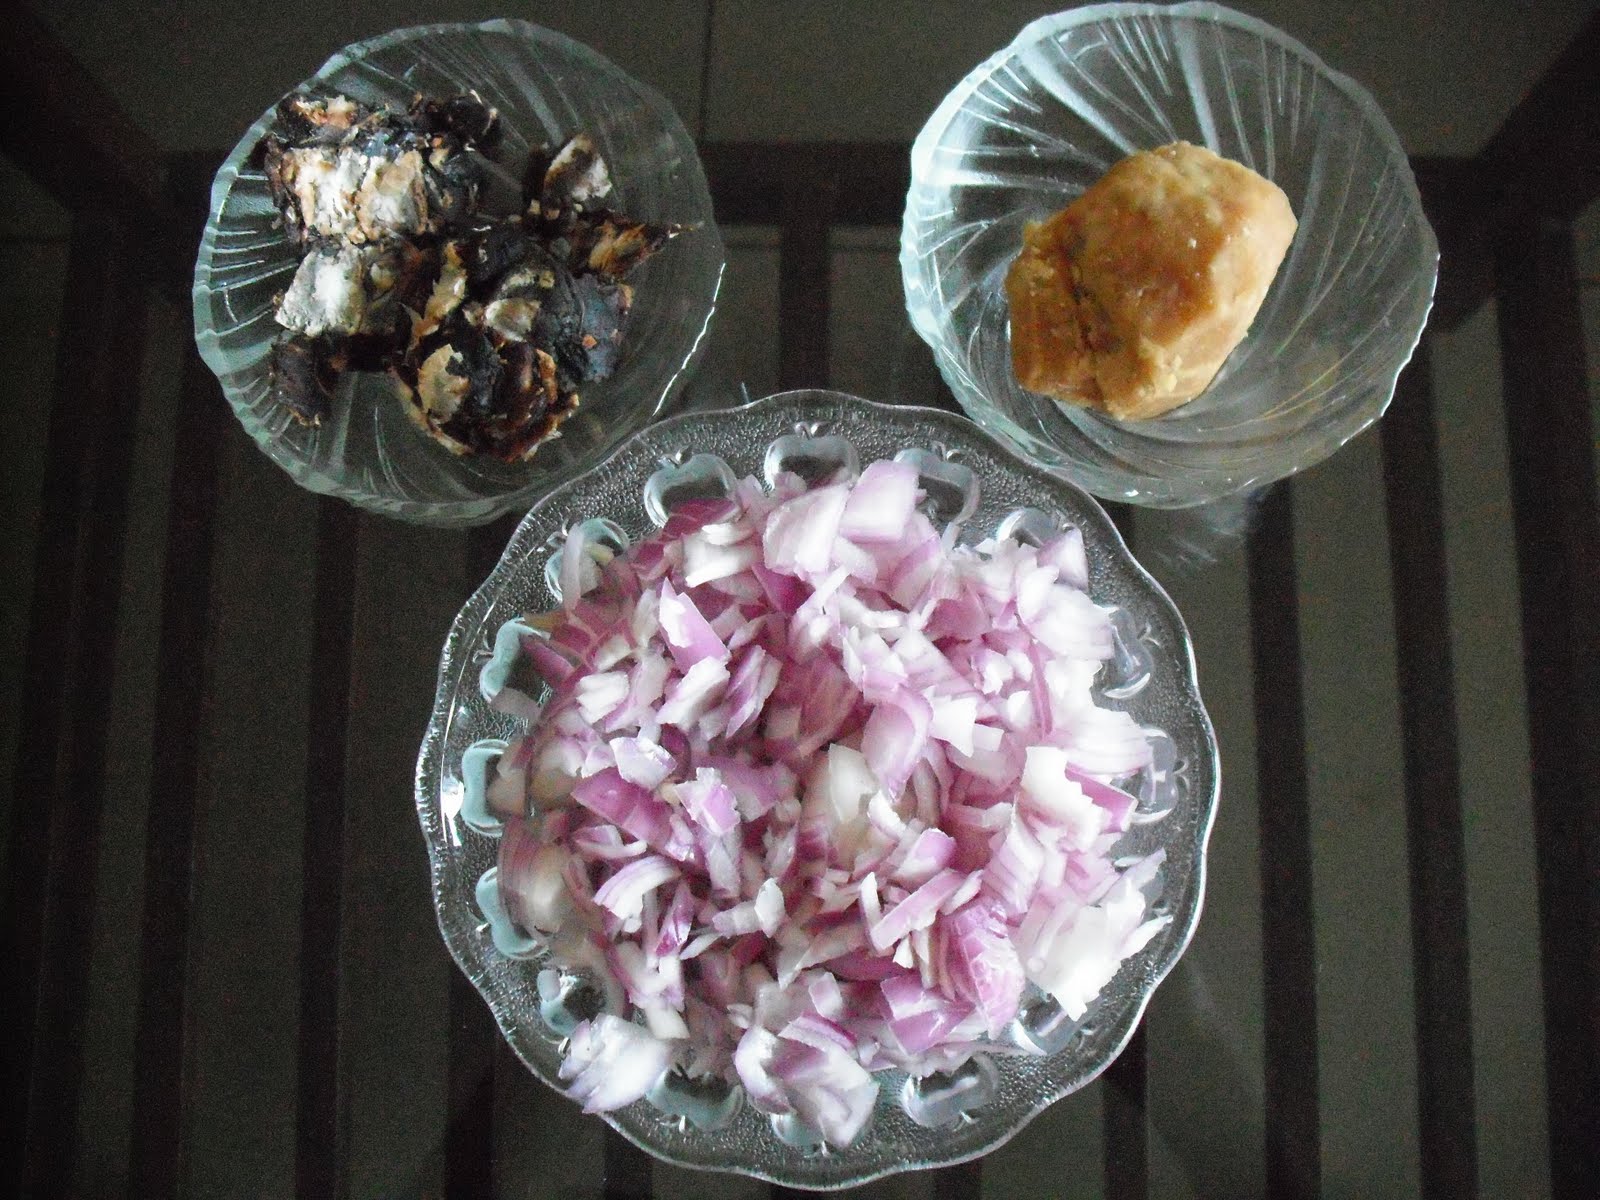
    ingredients
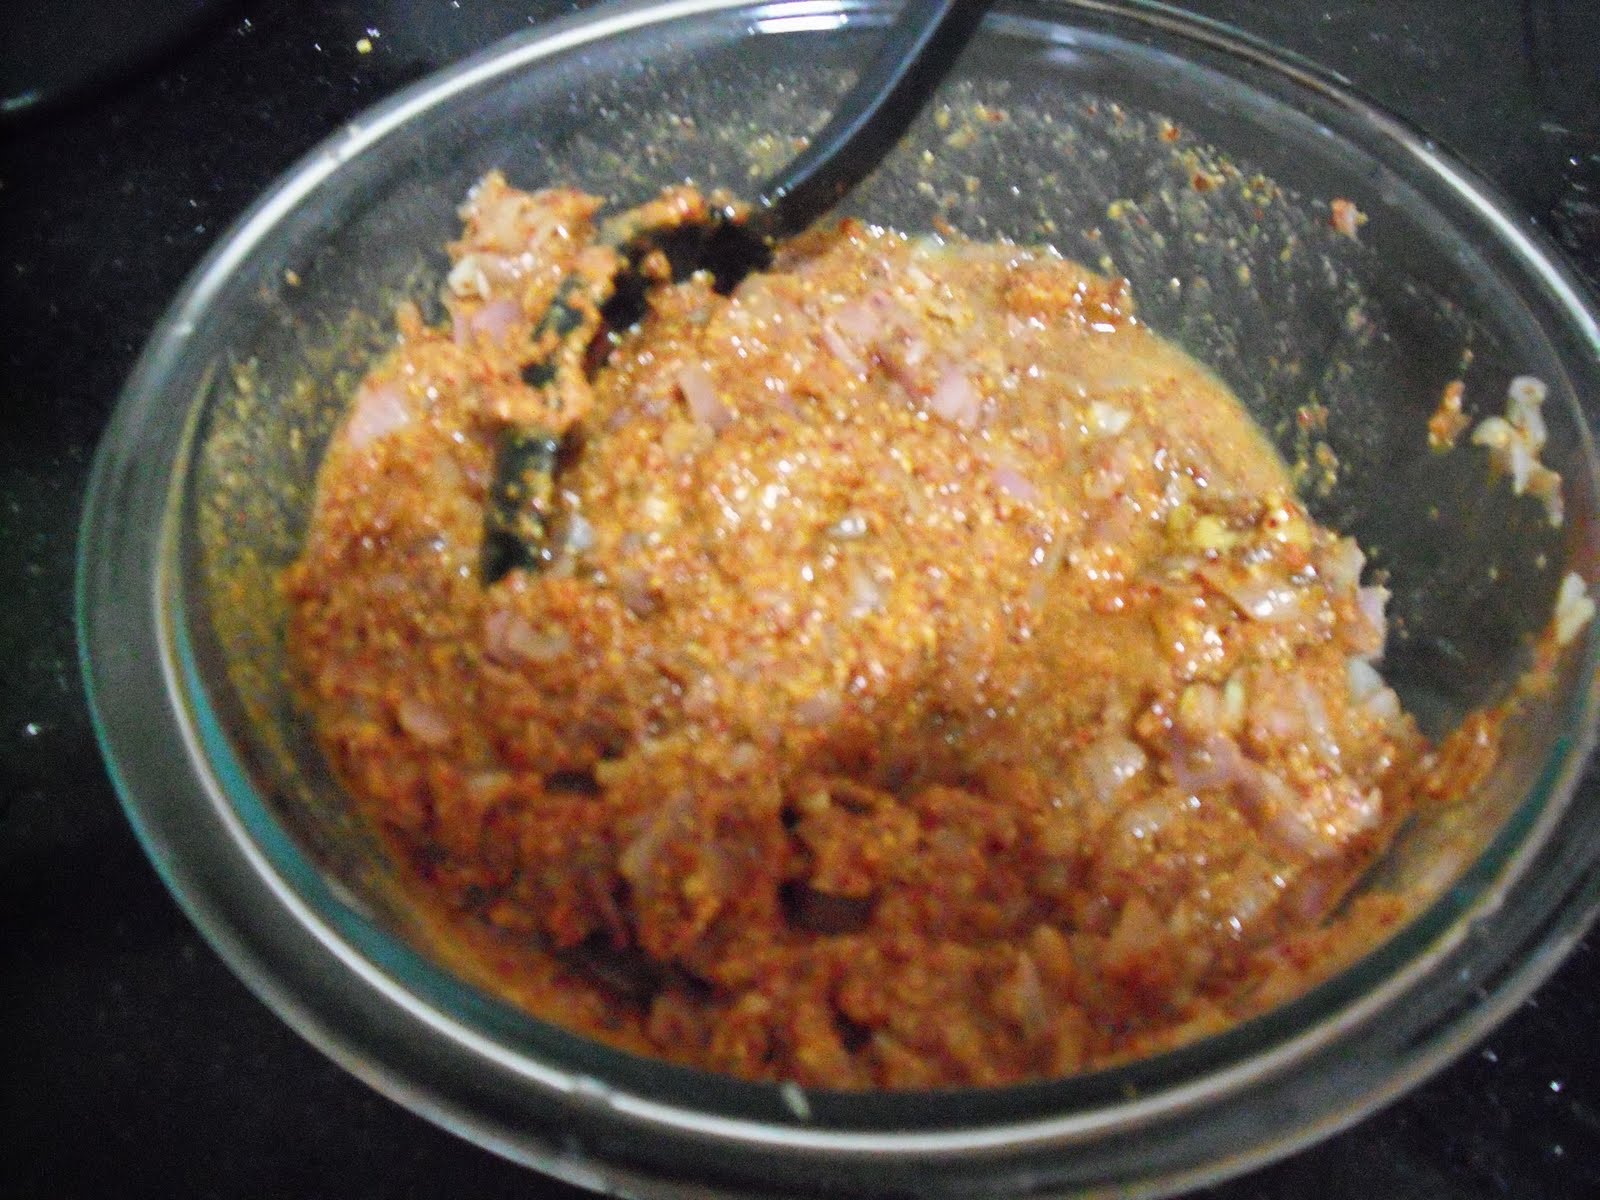
    fried onions with powdered jaggery,masala and salt.
    stuffing mixture
    slit brinjals stuffed with paste
    
    Serve with steamed rice and dal.


    Sep 11, 2010

    My first offering - Kozhukattai (Modakam)

    It's been more than 2 years since I have been wanting to start this blog.Now that it has gotten off to a good start,I welcome all of you to come explore read and leave behind your comments,queries and new ideas for me to work on.
    Through this space,I plan to offer balanced meal options,recipes for the meals and nutrient info.I also plan to add an interactive forum where we can discusss our concerns on nutritional requirements,meal planning etc.
    Welcome once again.
    Rajani.
    Our Ganesha-All decked,adorned and drowned in our flower offerings!
    Naivedyam-kozhukattai,sweet and salty,and pal payasam